Cell Phone Charger Holders
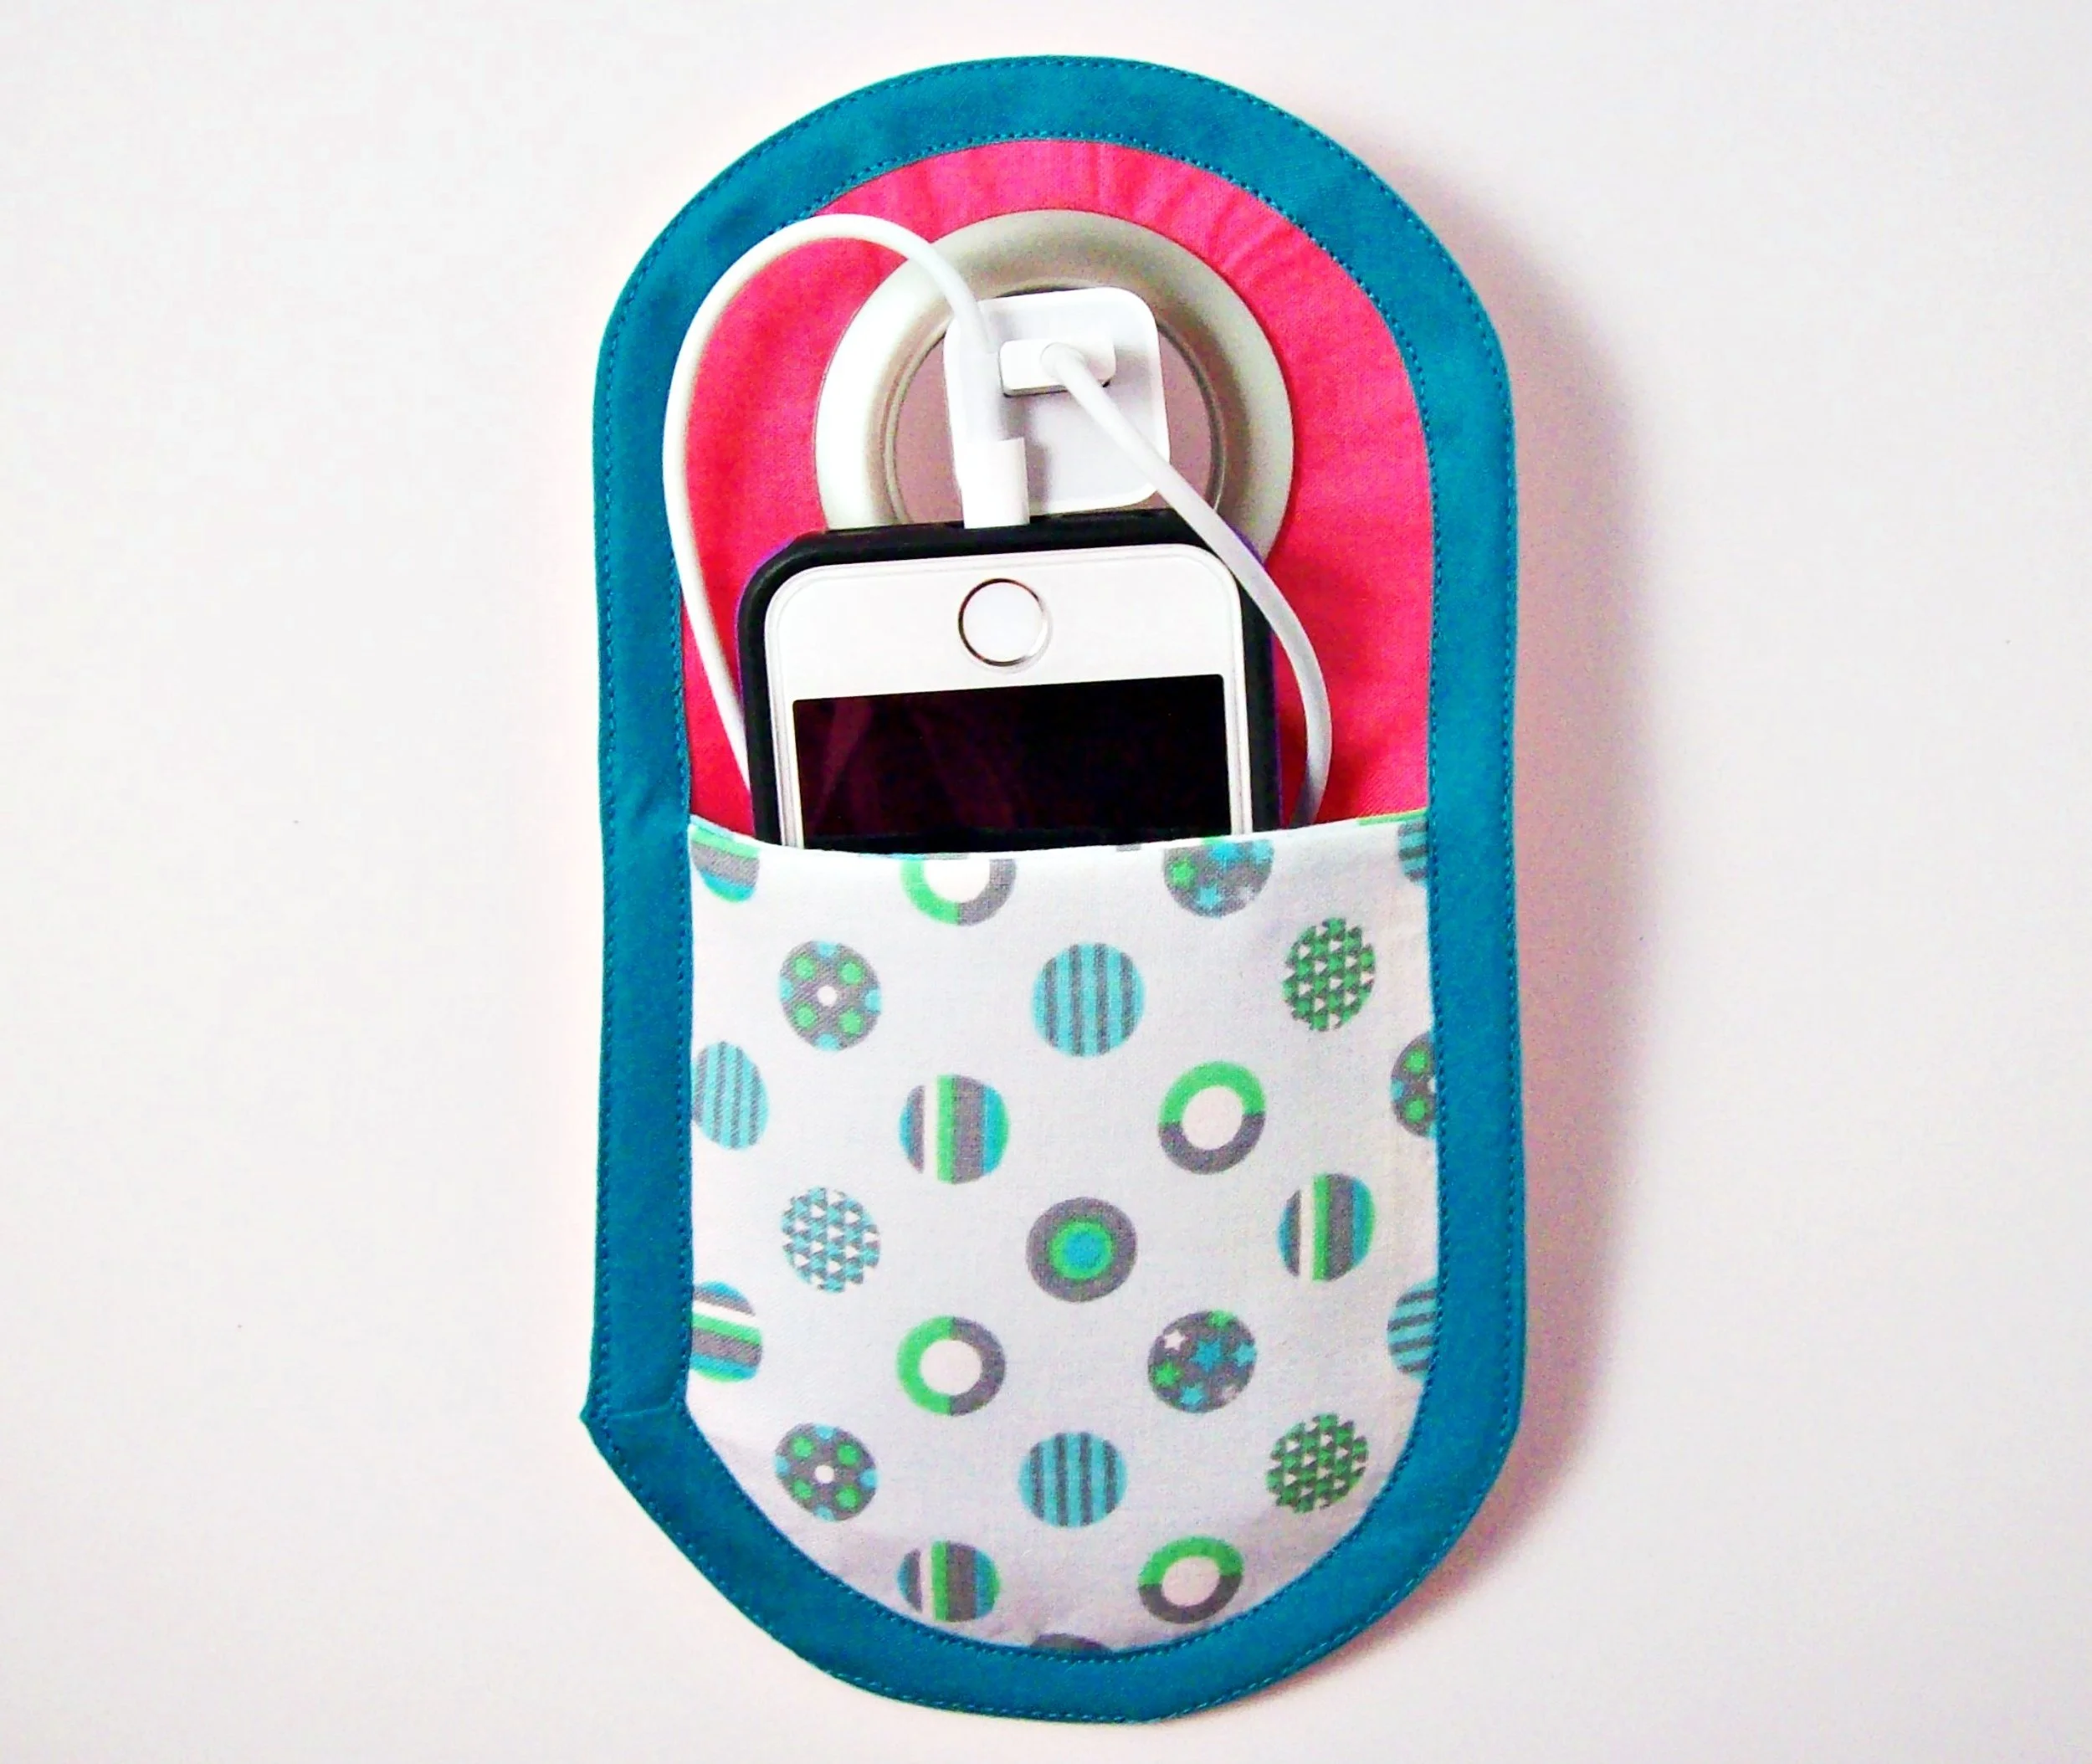
A convenient travel accessory, these cell phone charger holders ensure that you have a convenient place to charge your phone no matter where you go!
“To Travel is to live” - Hans Christian Anderson
The Idea:
I ended up making a cell phone charger holder after looking for a gift idea for my stepdad. As usual for me, I wanted to make him something and I wanted it to be something that he could actually use. In this case, I started browsing the internet for ideas. I stumbled upon a cell phone charger holder that was somewhat similar with a pouch that was held up by the power adapter. I thought that seemed pretty cool and pretty practical for a frequent traveler, so I decided to design my own.
The Process:
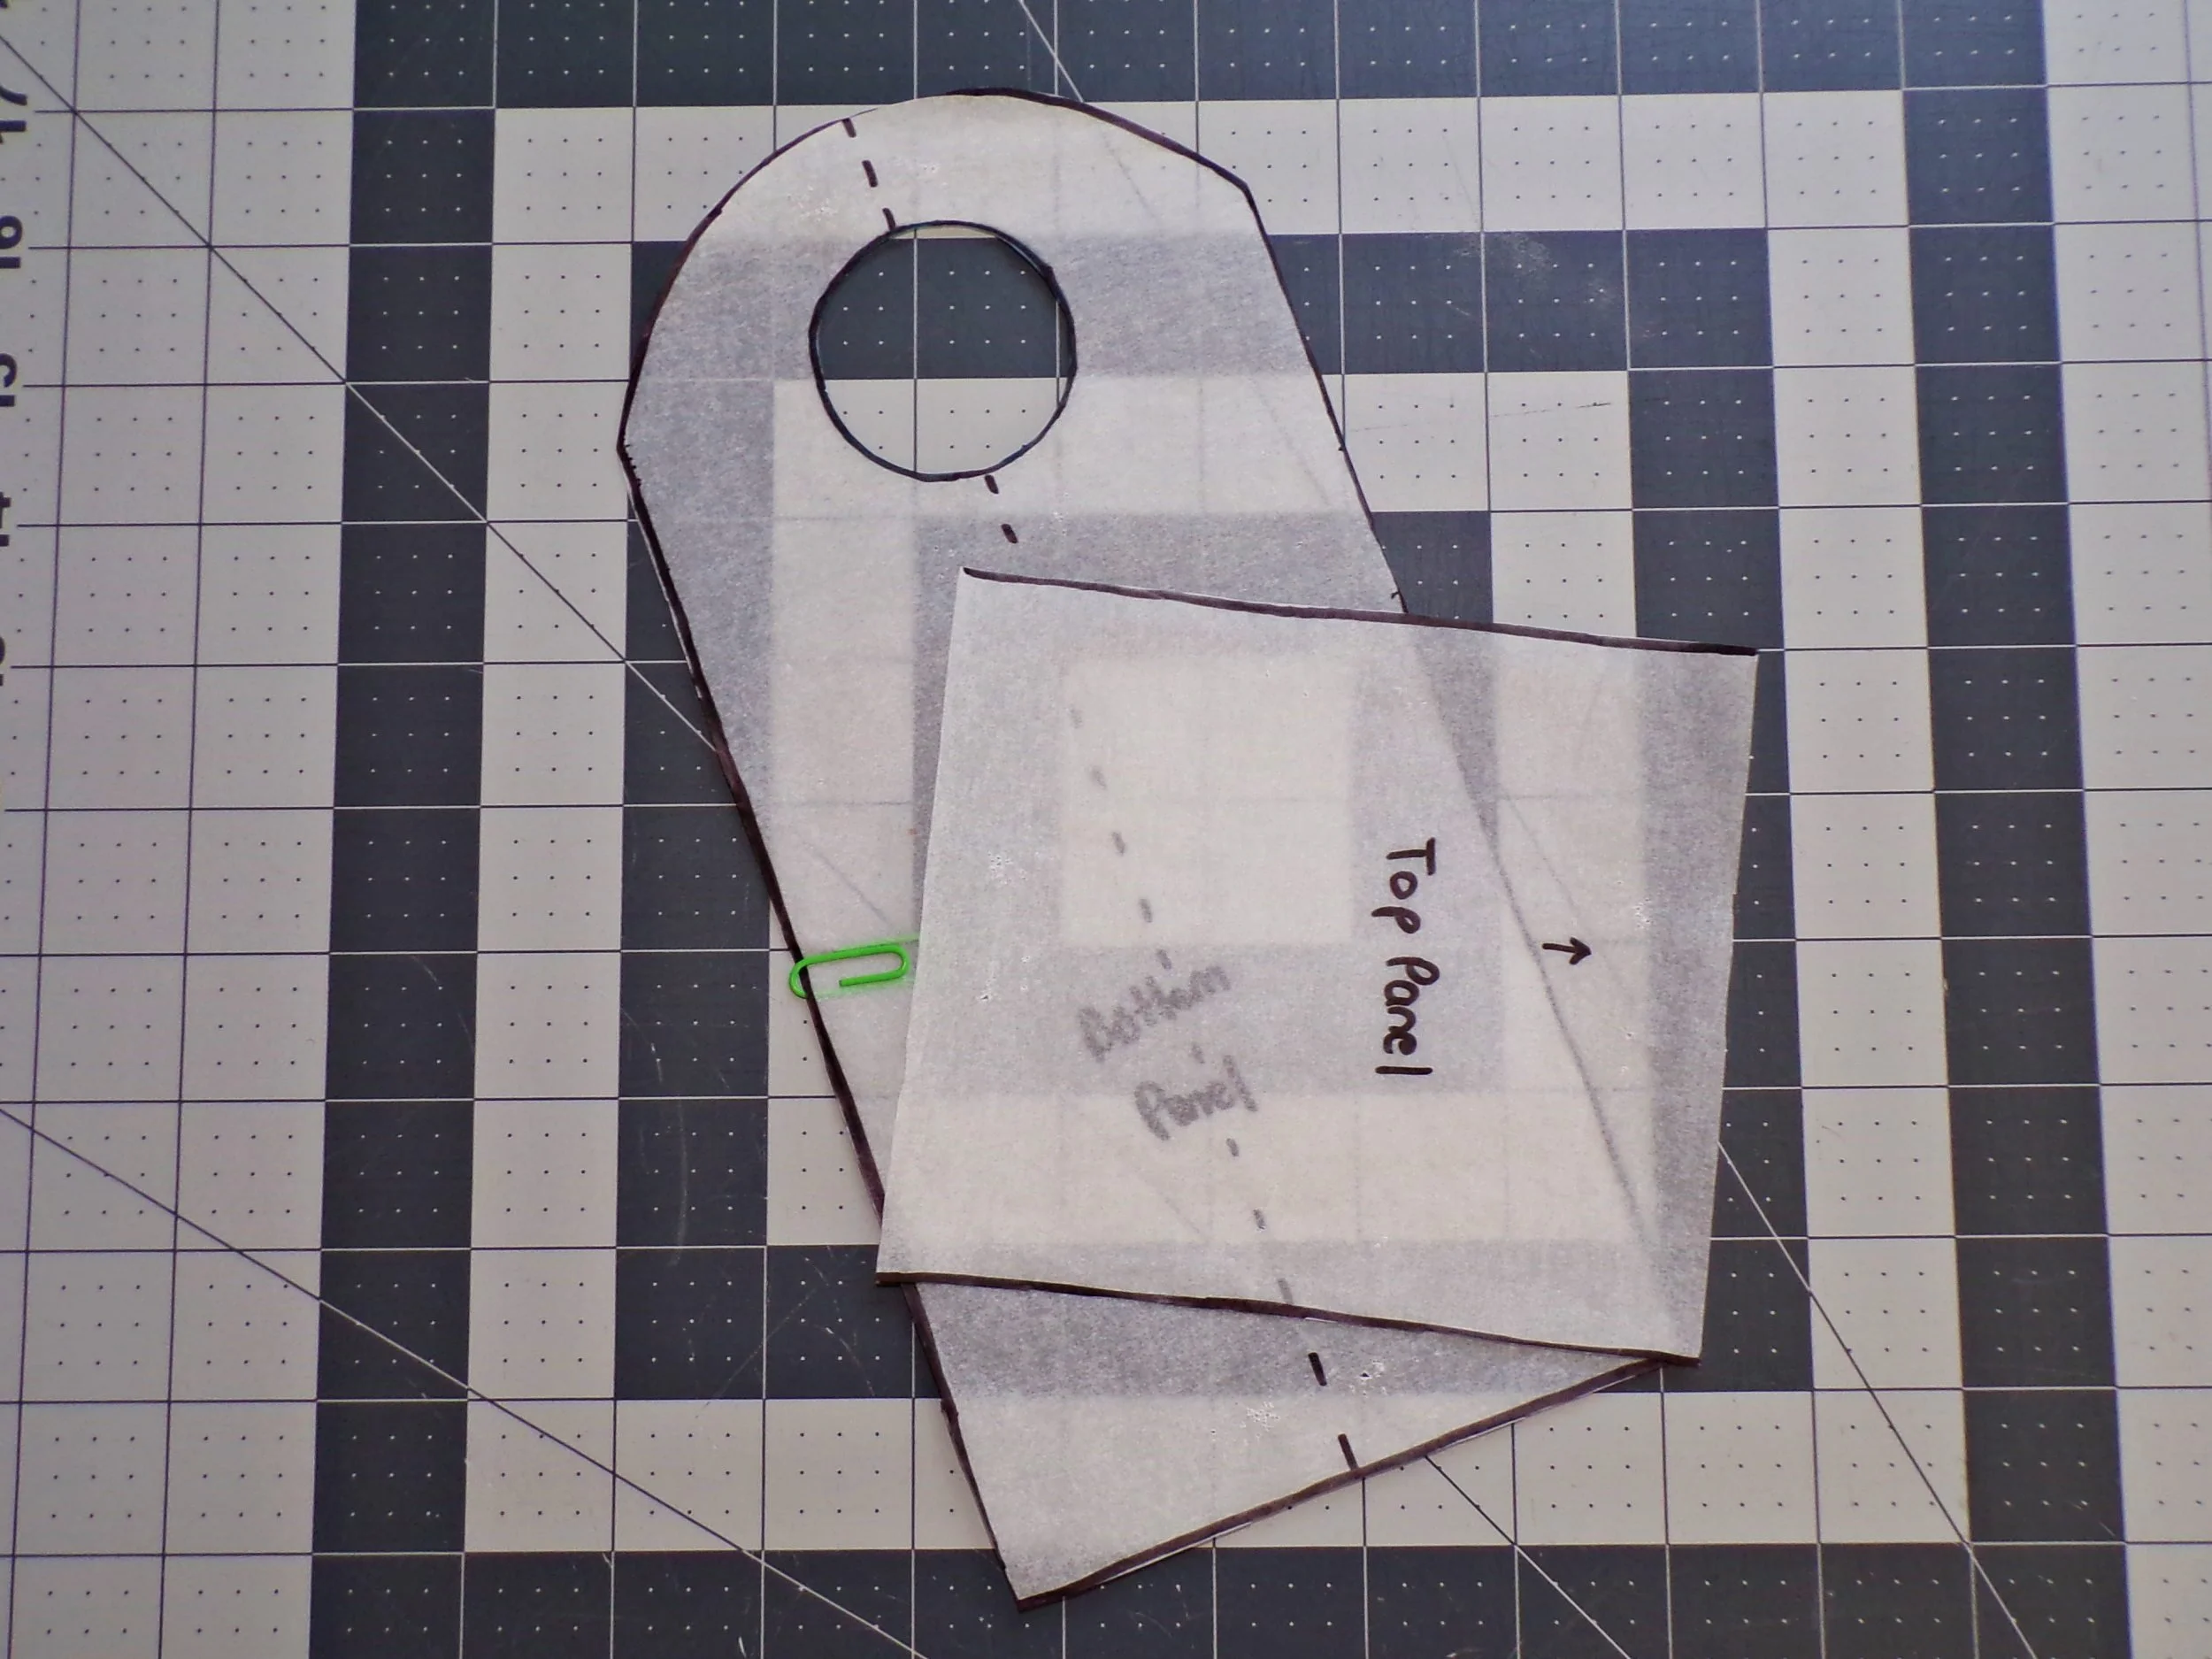
I started by measuring my phone to get the case dimensions of a pocket. I did the same thing with the Apple Cube power adapter to get rough dimensions for how larger the hole should be. Allowing for different-sized phones, I added what seemed like sufficient space between the pocket and the base of the hole for the power adapter. Although I had seen similar charger holders with a square top, I finished my design with a rounded top because it seemed more polished and aesthetically pleasing.
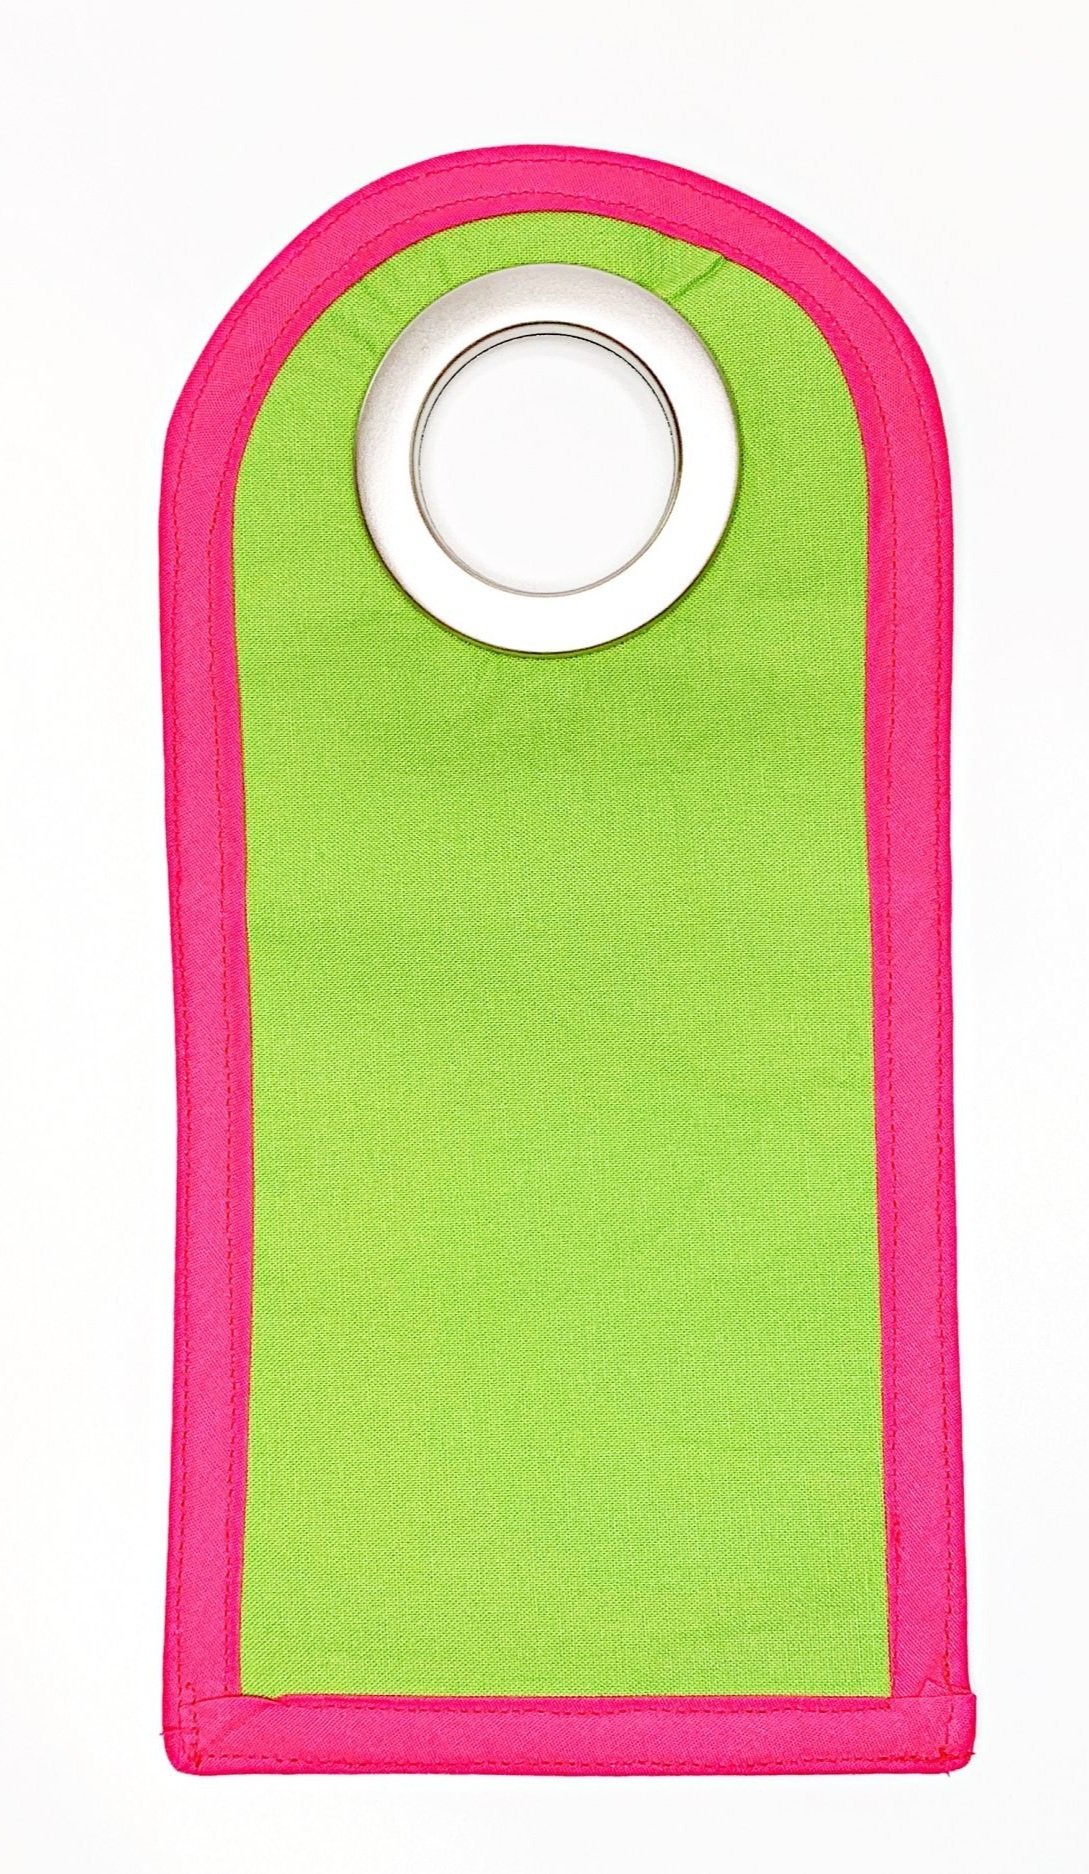
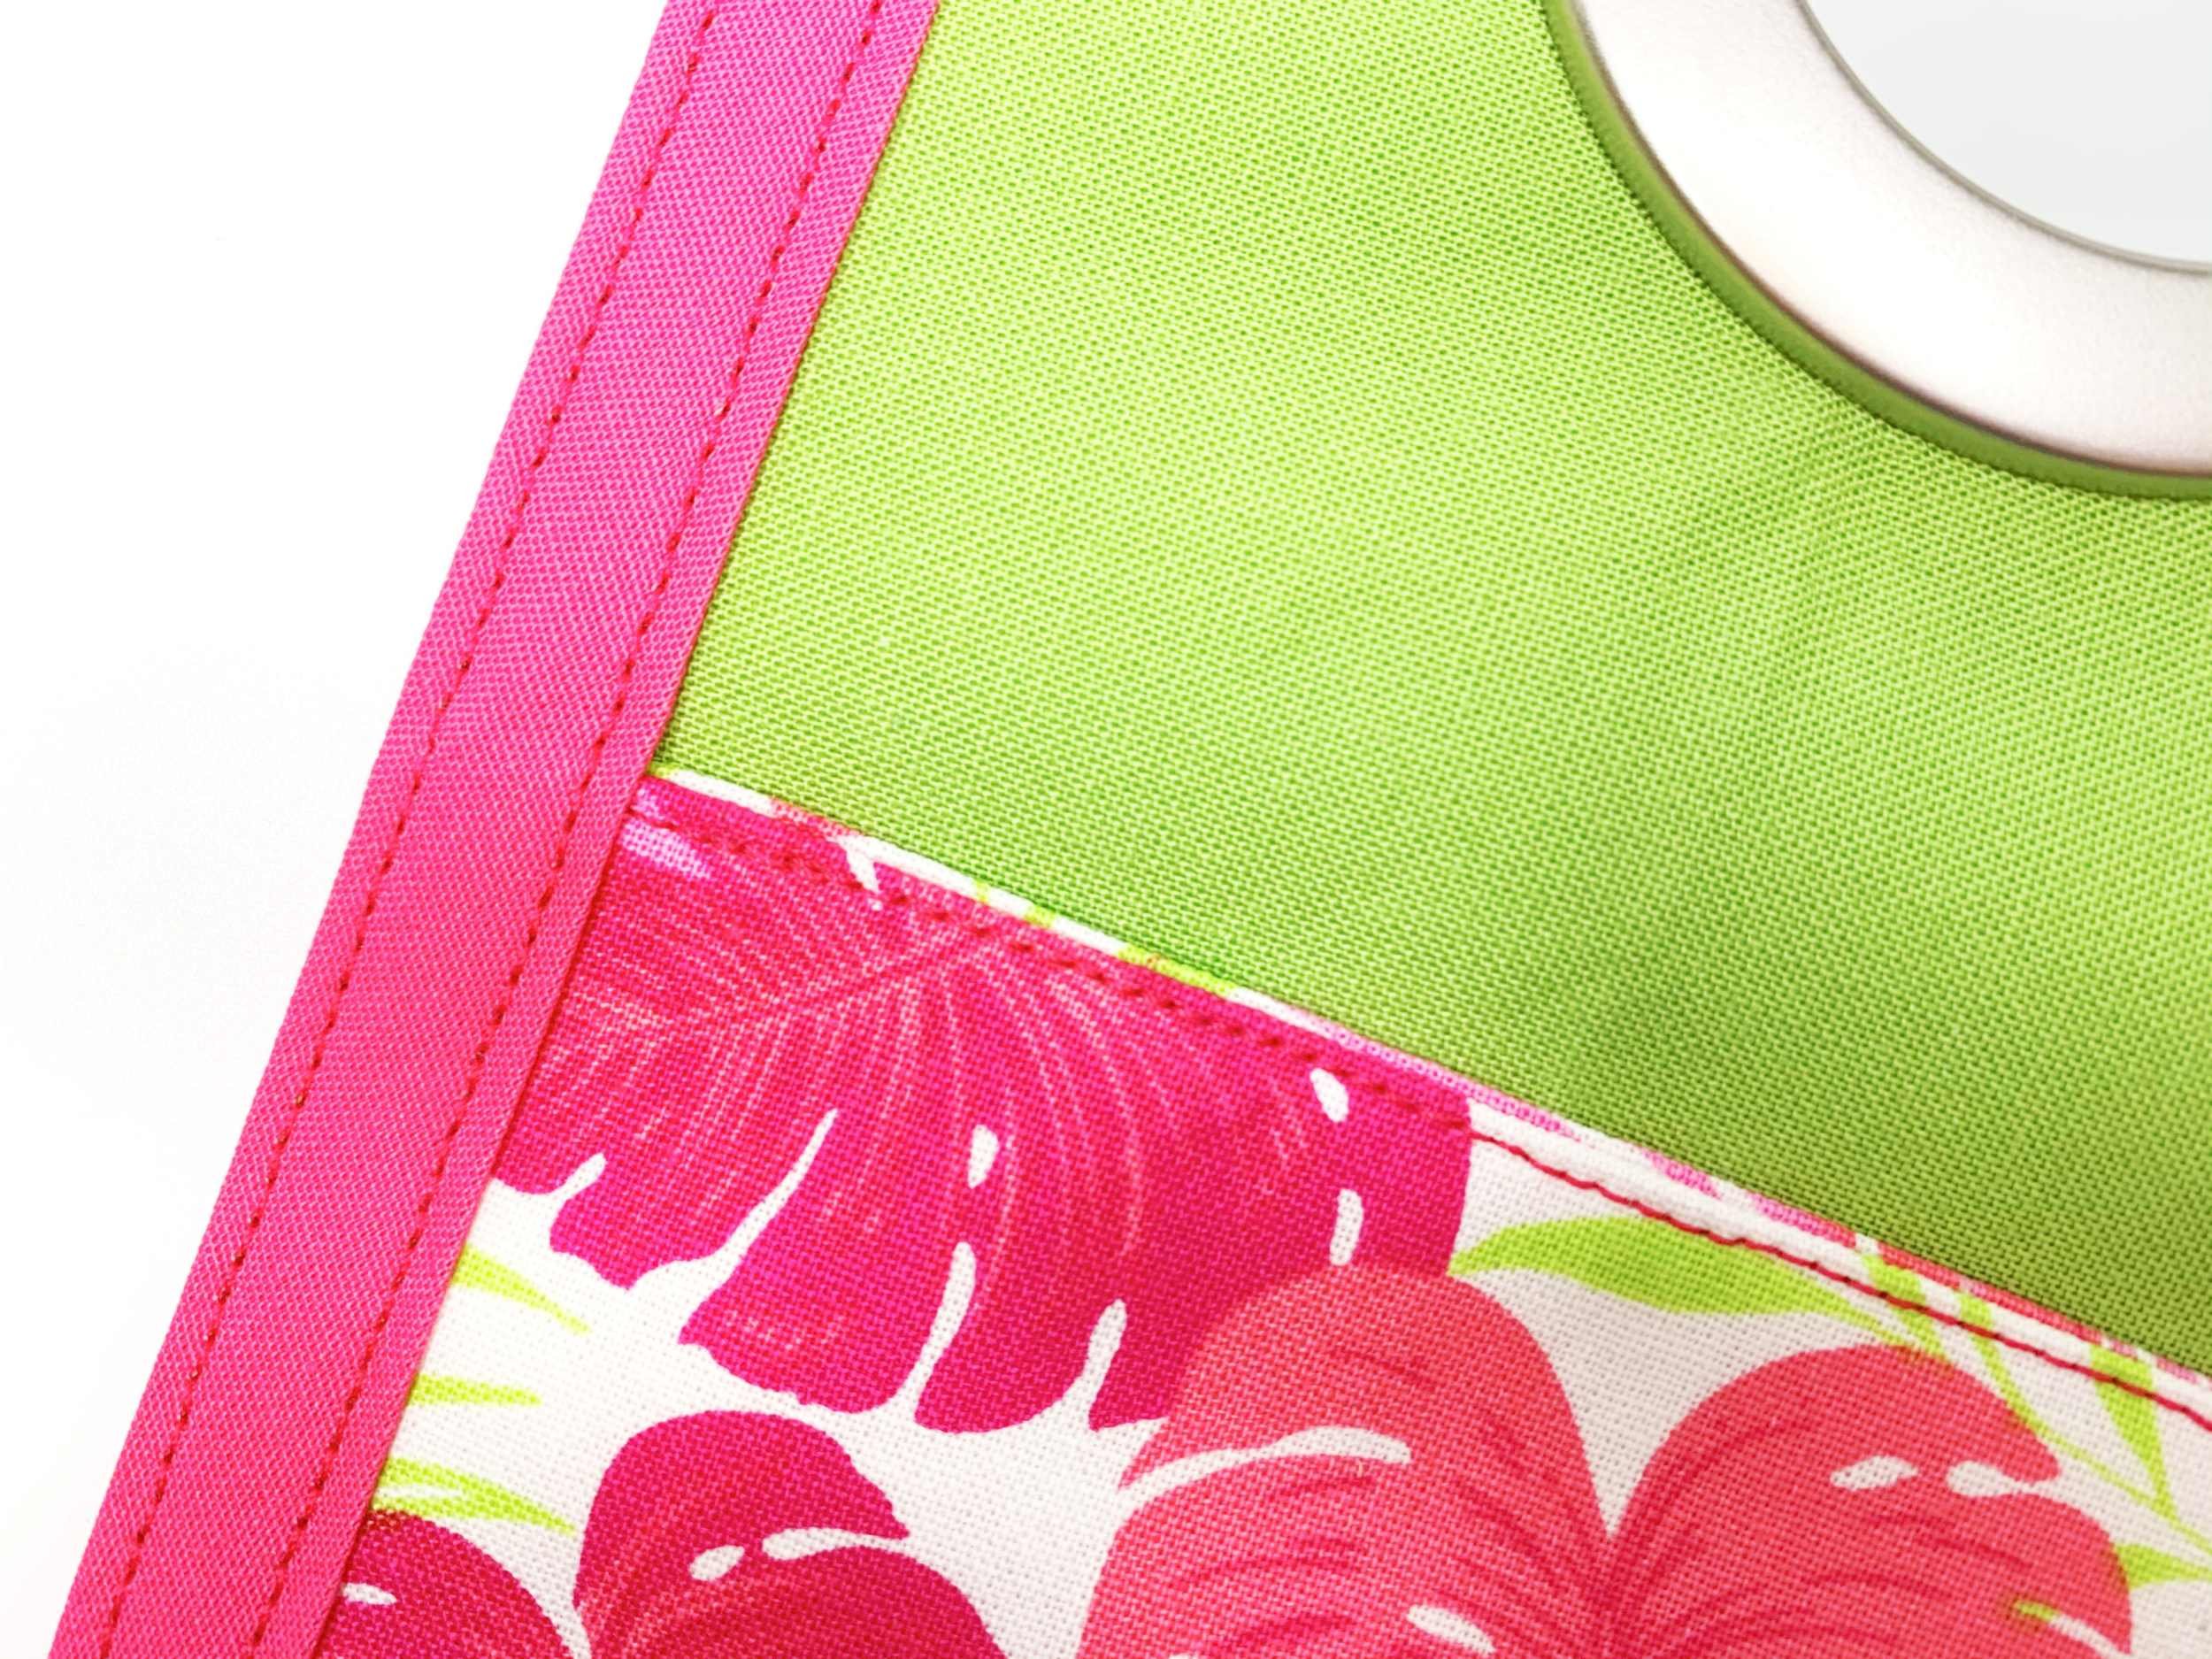
Getting the right size hole was challenging because it was harder to factor in the seam allowance and how much space would be lost once it was turned inside out. It also took some trial and error to figure out how much space should be between the top of the power adapter hole and the top of the charger holder. Somewhere in the process of trial and error of this step, I realized that a hole just of fabric was rather flimsy. I don’t remember specifically what led me to this idea, but I ended up ordering curtain grommets to serve as the sturdy border of the hole for the power adapter. I also decided to add a stiff stabilizer to the base fabric and pocket to make the whole thing more sturdy. Since the easiest way to sew the hole was to put the wrong sides together, cut out the hole, sew it, and then turn it inside out, this meant that raw edges would be left around the edge of the body. In order to both cover those up and attach the pocket, I decided to add bias tape around the edge to solve both problems at once, as well as add a pop of color.


