Chapstick Holders
I don’t actually remember the true origin of my idea to make a chapstick holder. What I do remember is randomly thinking that being able to carry my chapstick with me easily on a walk or somewhere I’m trying to minimize what I am carrying would probably be one of the most useful accessories. I was, as was common, also trying to think of something that I could make my mom…something that she could actually use. I am sure that I must have seen something somewhere that sparked the idea, but I don’t remember anything specific.
The Idea:
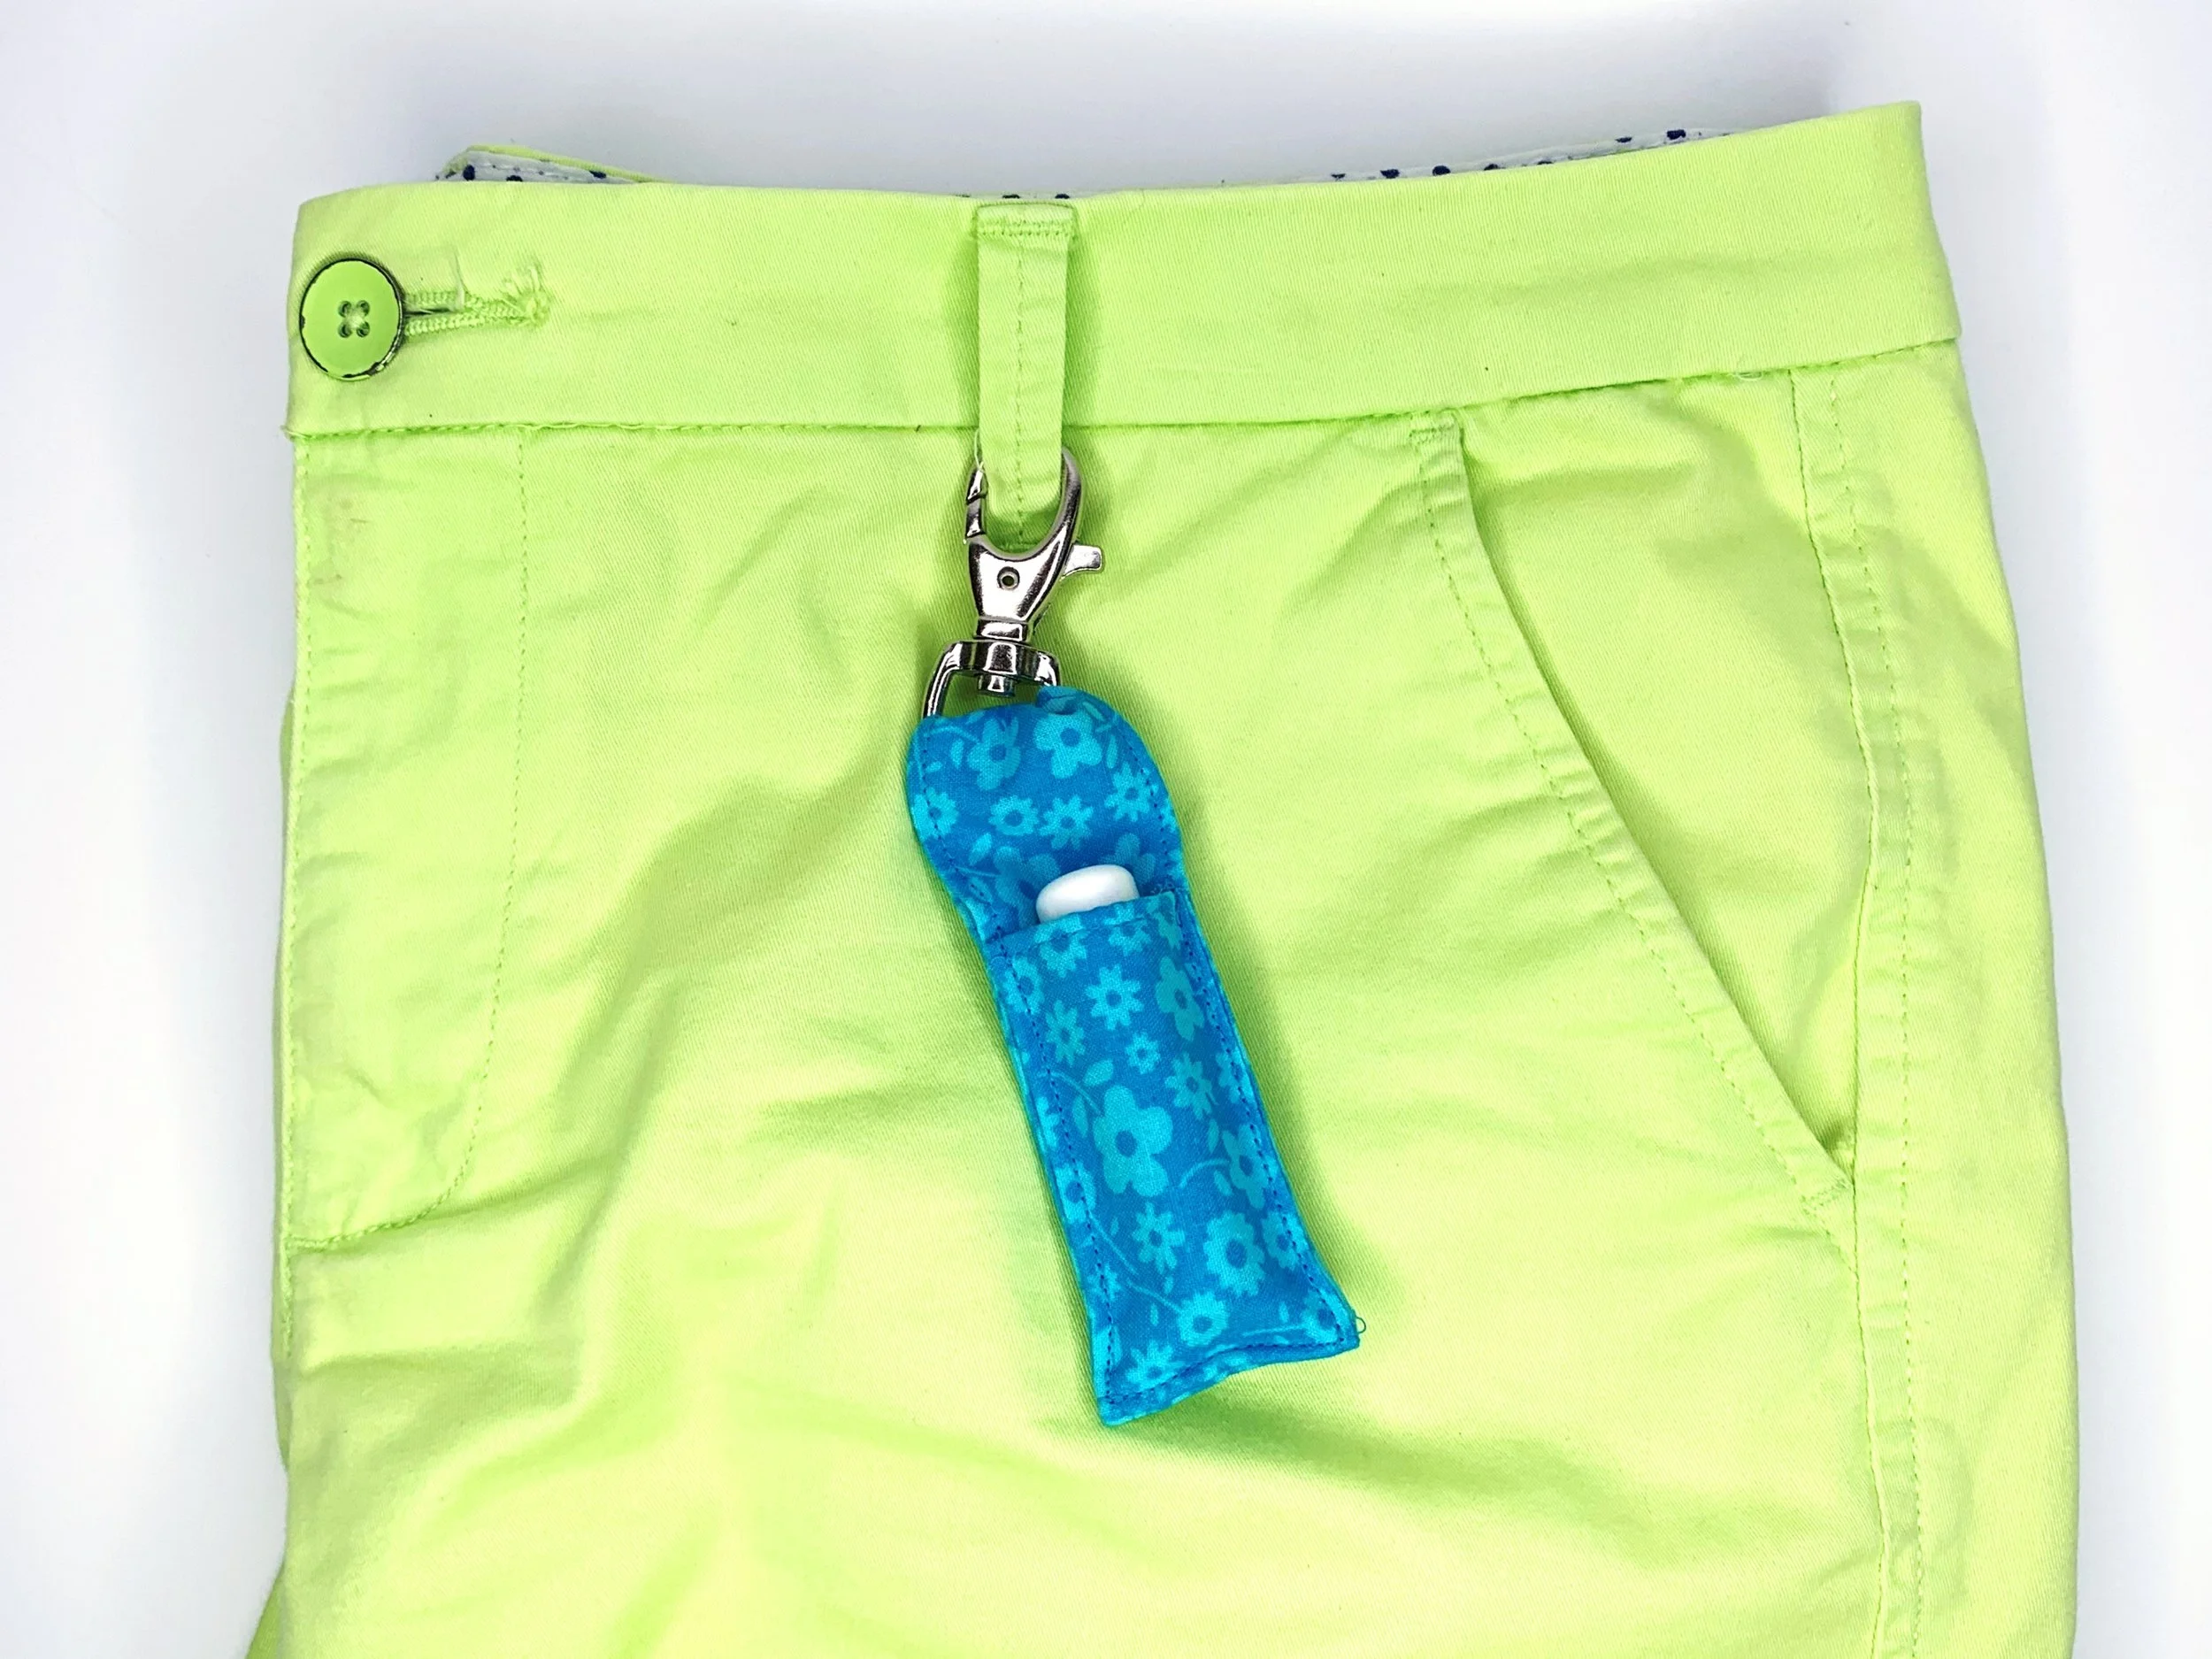
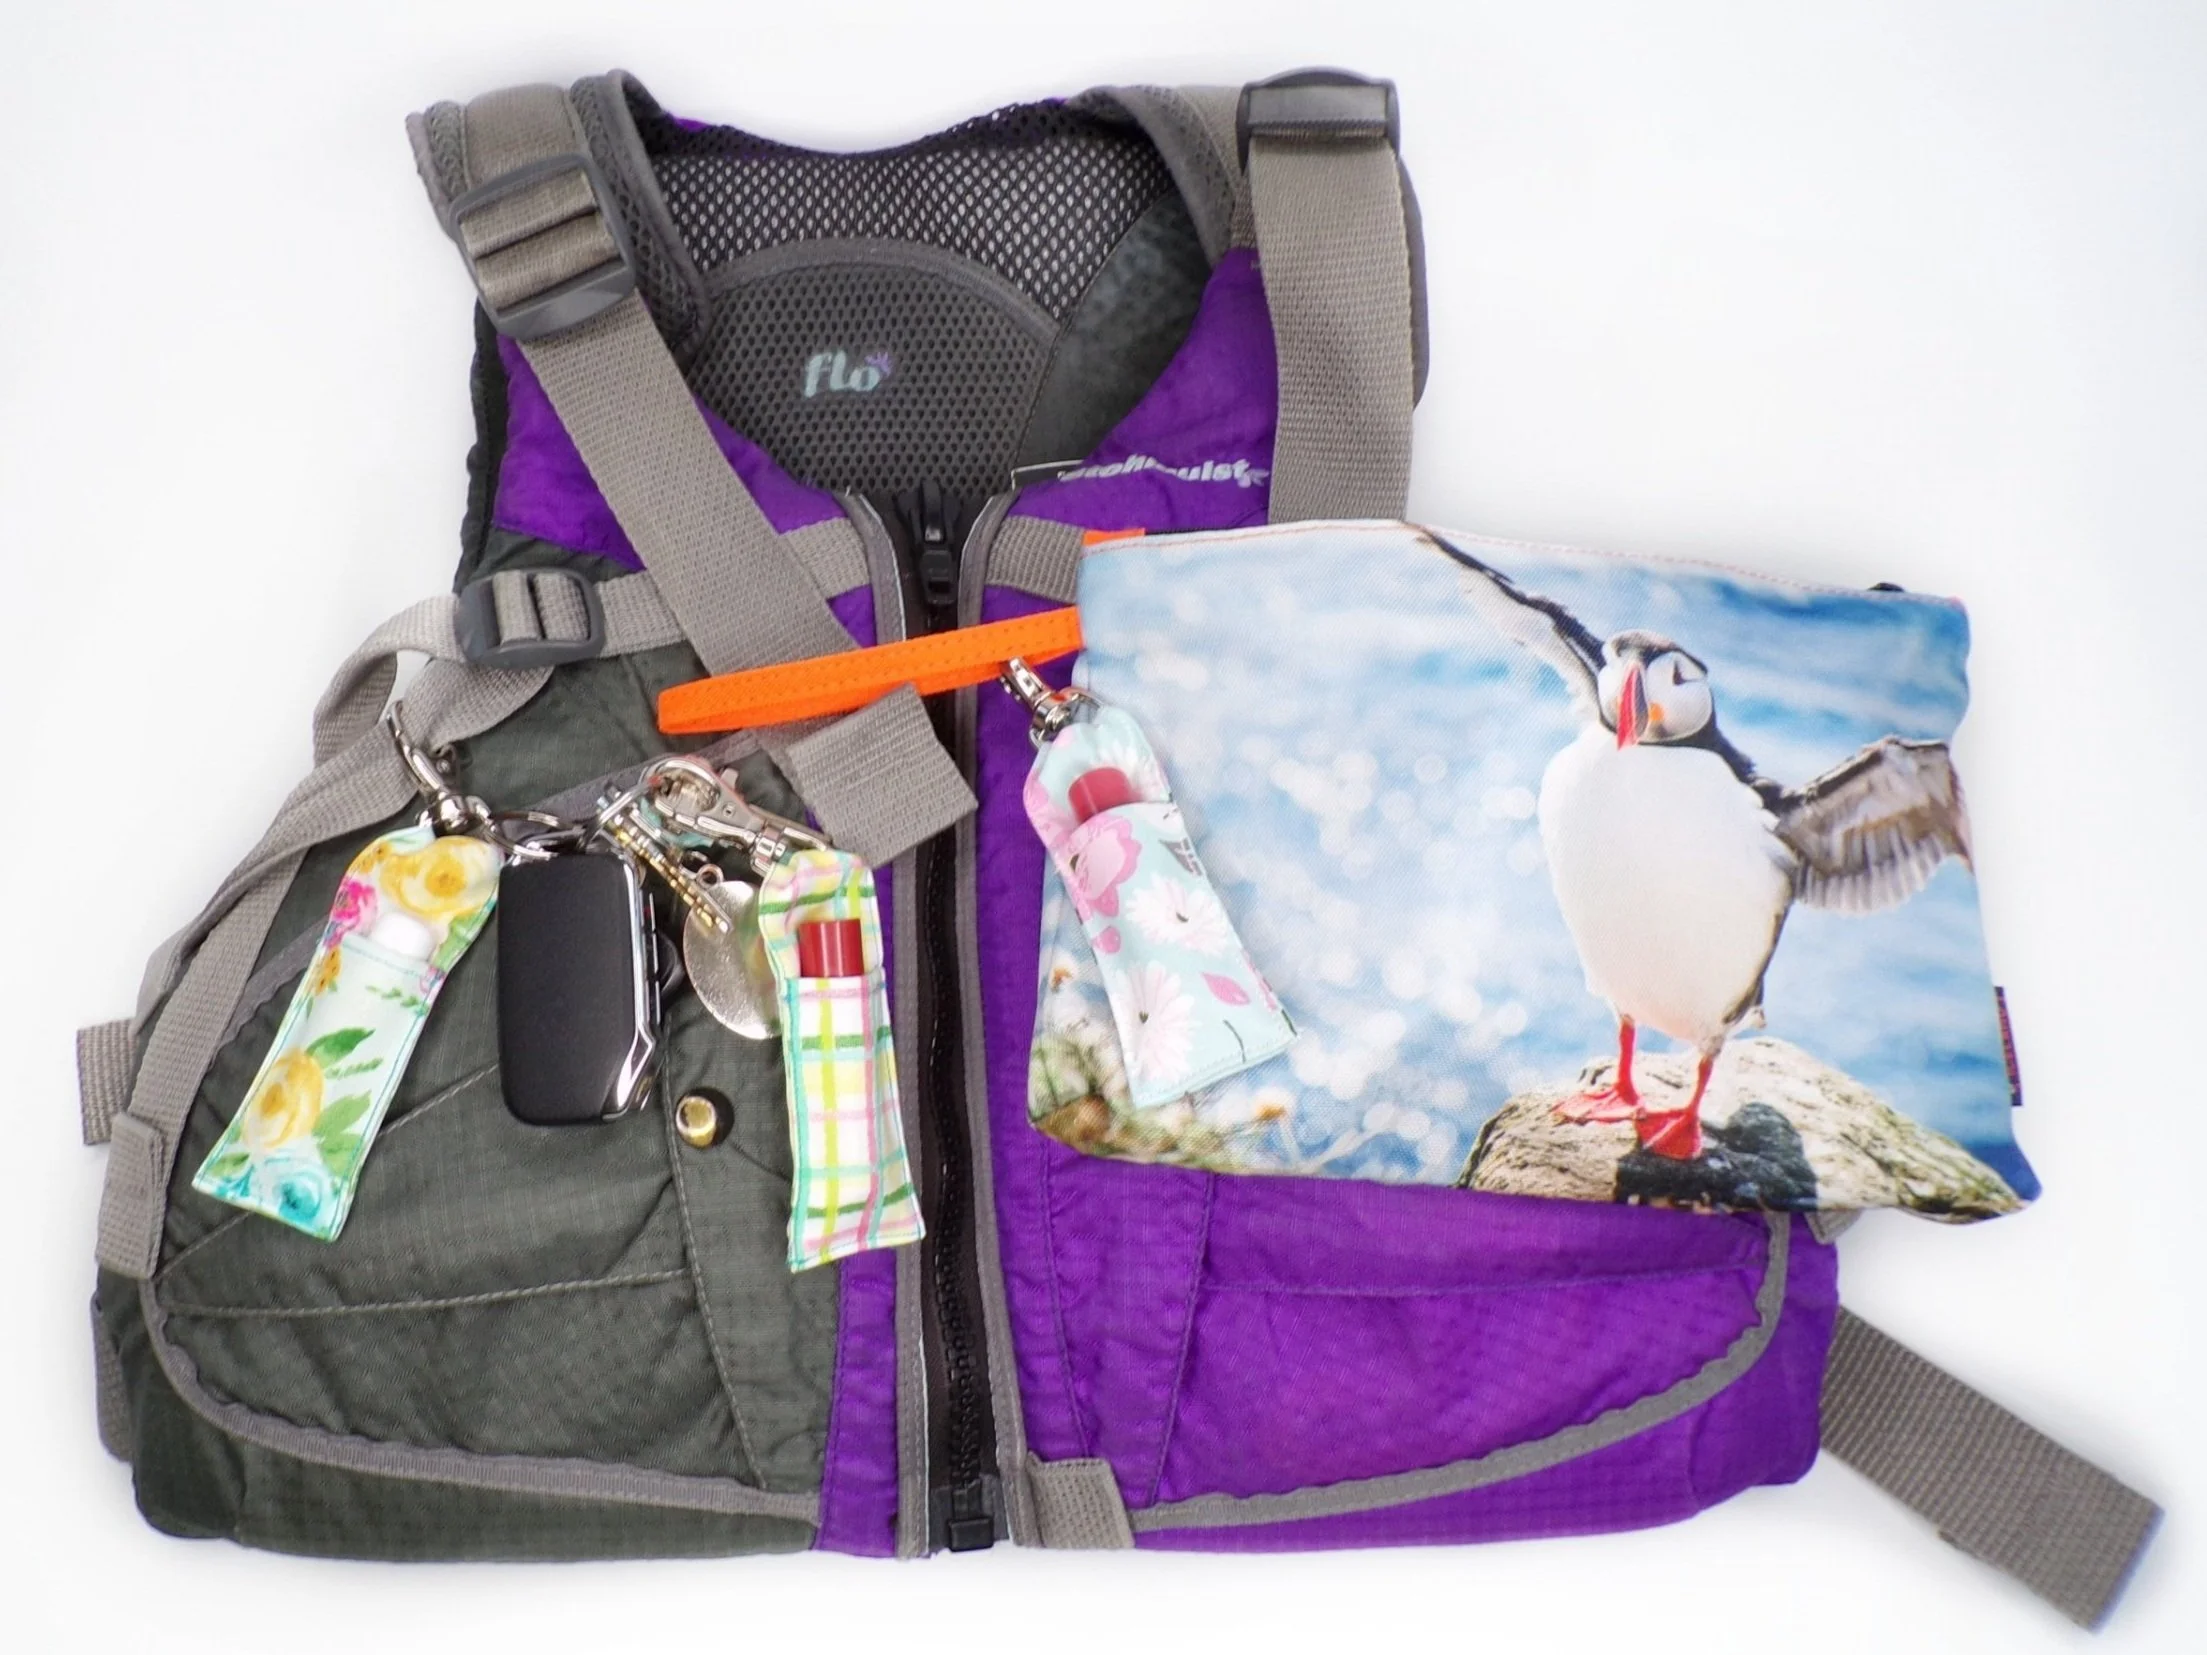
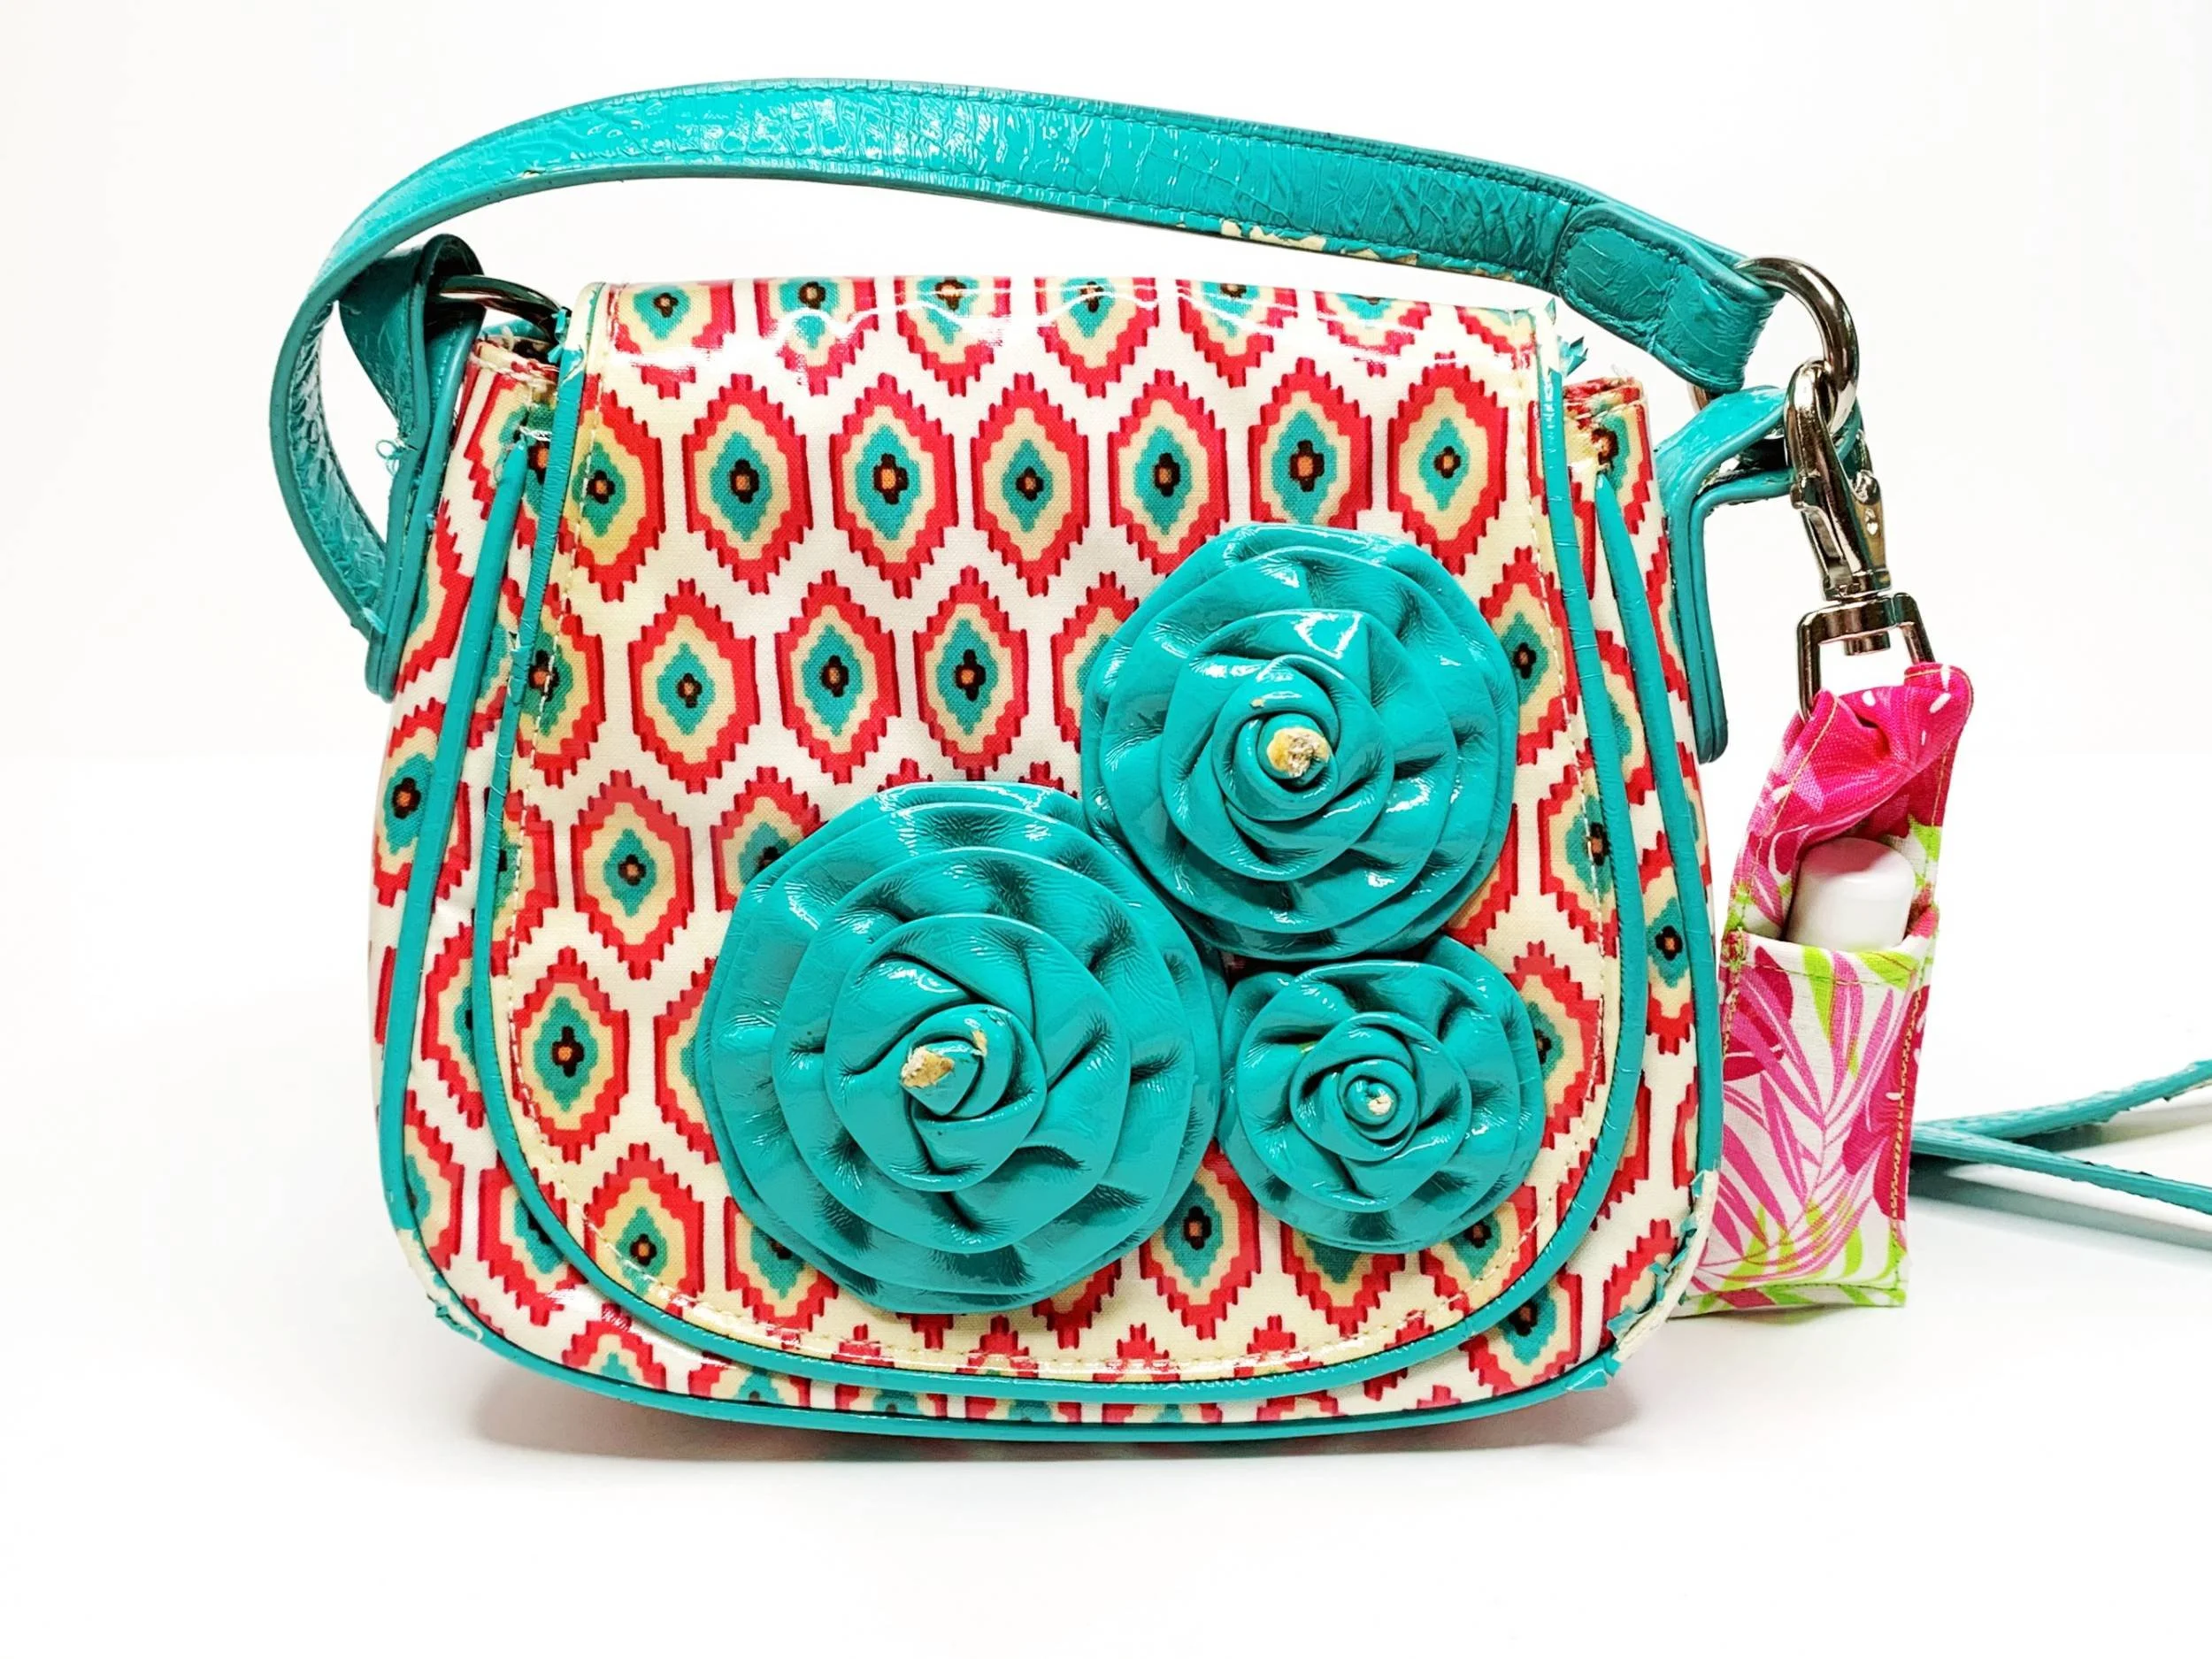
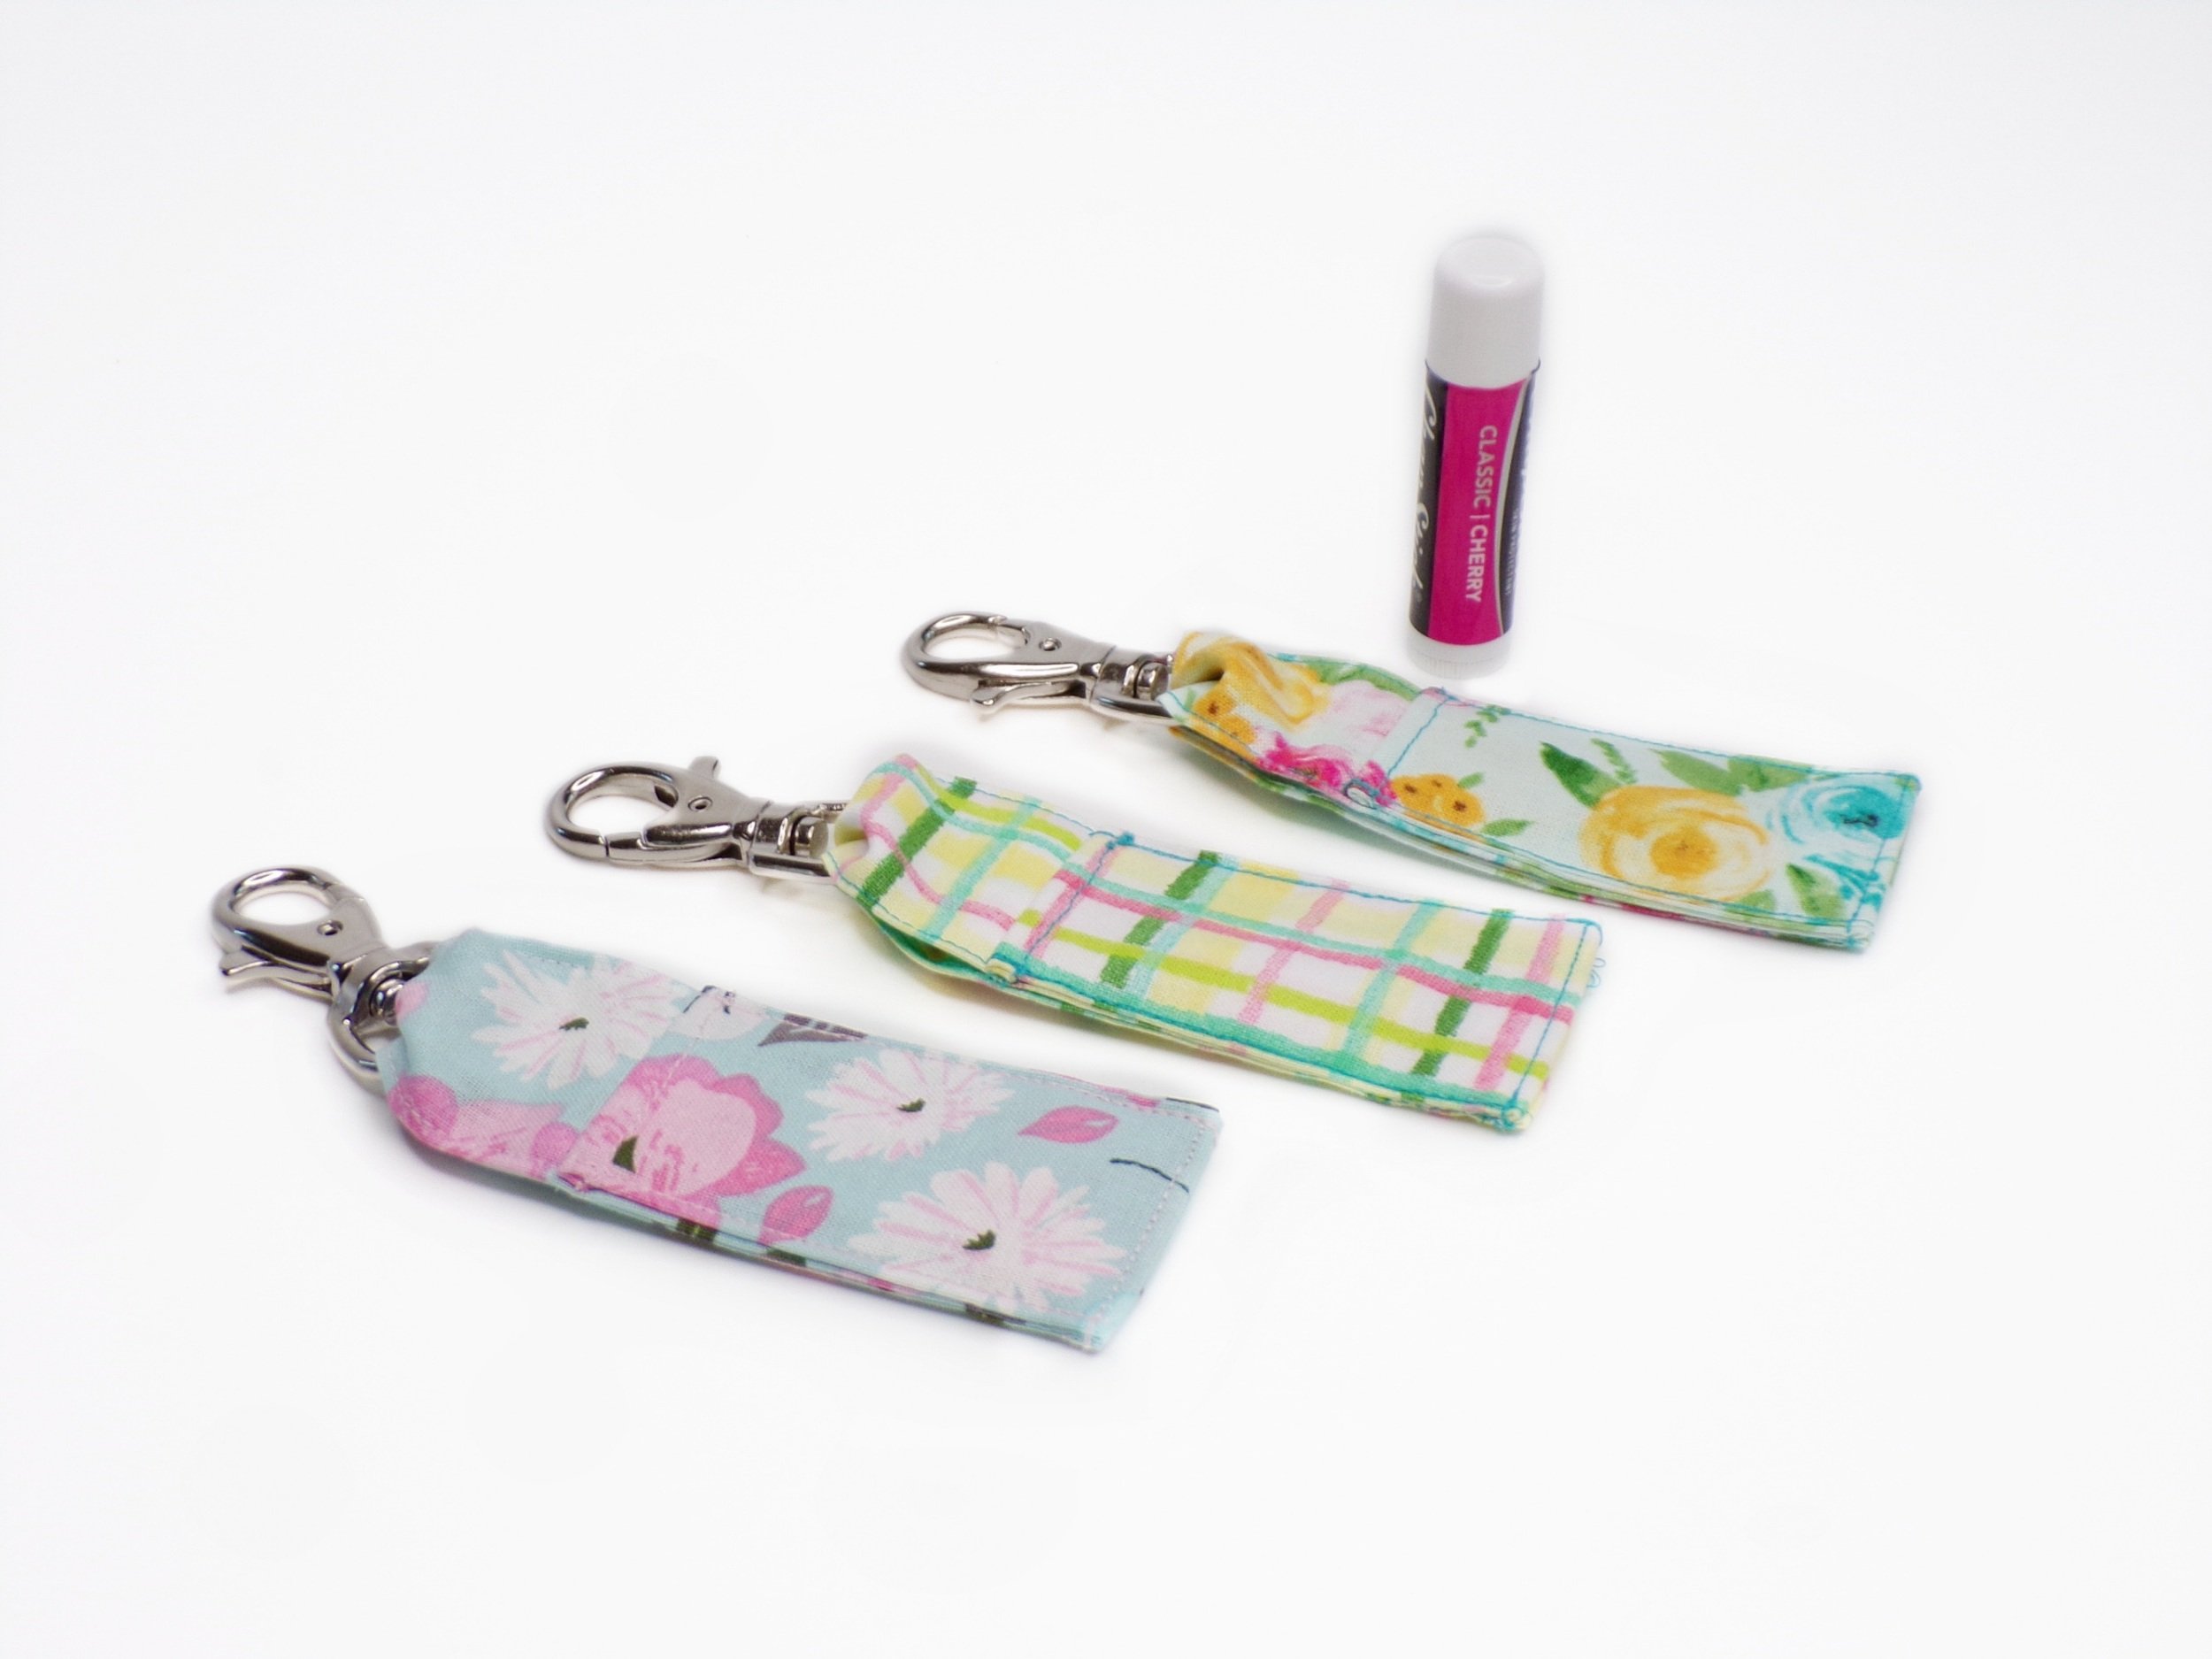
Once I’d thought about making a chapstick holder, I Googled it to see if they were common and how they were designed. Most of the ones I saw had a small narrow loop at the top that a key ring was attached to. This design did not suit the purposes for which I wanted it and also didn’t seem very convenient, so I decided to design my own. Keeping adventure and travel in mind (mainly the places and activities where one would be less likely to have a purse), I started brainstorming some options for constructing a sturdier connection point and an attachment that is easier to use than a key ring.
The Process:
First, I decided on using a swivel hook instead of a key ring because it is much easier to quickly attach and detach it wherever you go. The design process began first with measuring chapstick to determine how wide it would need to be and how tall. Math isn’t my strong suit, so most of this was trial and error with scrap pieces of fabric. Once I had the general dimensions down, I brainstormed alternatives to a small connecting loop, which I thought would wear quickly or possibly break. So, I designed the chapstick holder loop to be part of the body of the holder. With this, the main piece would loop through the swivel hook and then attach back to the main portion of the holder. This way, it would be very sturdy and thus suitable for a variety of activities/uses.


